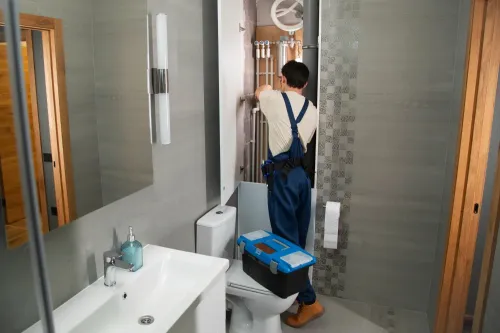
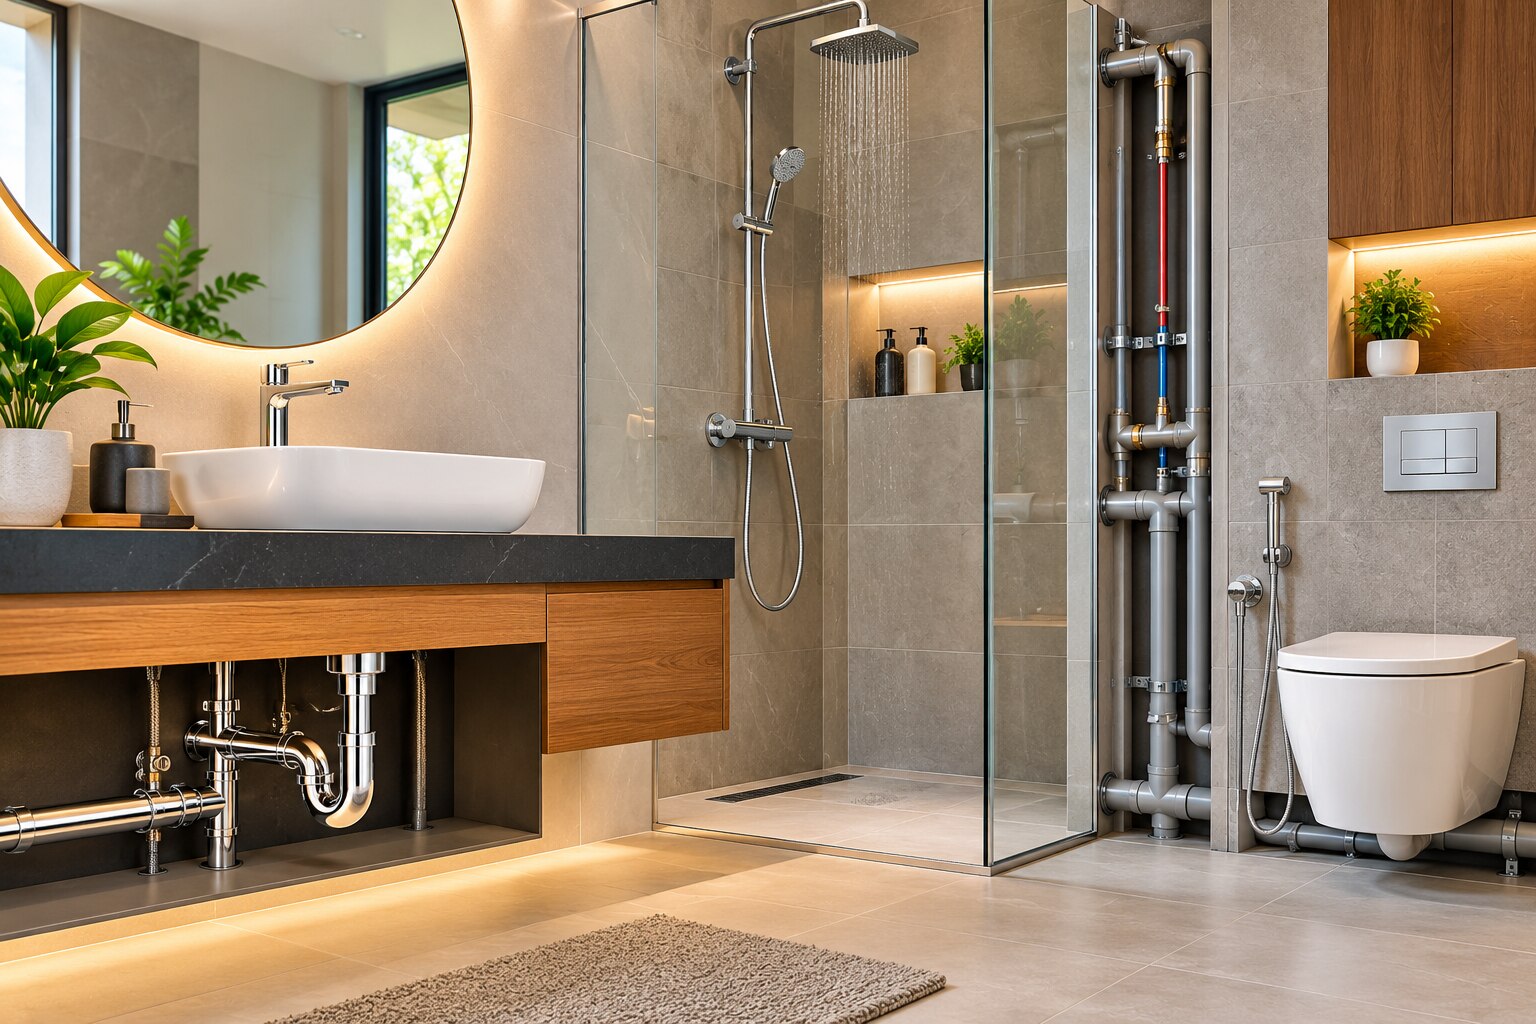
A bathroom can look finished while poor pressure, hidden joints, flat waste lines and failed waterproofing wait behind the tiles. By planning the water source, pipe routes, drainage falls, wet zones and service access before construction, you can reduce leaks, odours, blockages and expensive tile removal in Nashik homes.
Key takeaways
- Measure water pressure before choosing fixtures and pipe sizes.
- Give floors correct falls and install accessible traps at every outlet.
- Photograph, pressure-test and record concealed plumbing before tiling.
- Use isolation valves and access panels for future repairs.
Begin with the Water Source, Pressure and Fixture Layout
Plan the bathroom plumbing layout around the water source, measured pressure and fixture positions before selecting fittings. Modern bathroom design in Nashik needs this check because municipal, borewell and tanker supplies can differ in pressure, sediment and water quality.
Test pressure at peak demand and obtain a basic water-quality report before choosing mixers, geysers, filters or concealed pipes.
- Mark the soil stack first, keeping the WC route short and separate from basin and shower waste lines. A residential WC commonly uses a 100 mm nominal soil connection, but the branch length and stack arrangement decide the final size.
- Draw hot- and cold-water risers to each fixture, then place an accessible isolation valve for each bathroom or fixture group.
- Use a pressure test on concealed hot- and cold-water lines before plastering. Minimise buried joints; a leaking joint behind tile creates demolition work.
- Reserve removable access panels for traps, cleanouts, pump controls, geyser connections and concealed cisterns. A flush plate opening must allow the inlet valve and isolation parts to be serviced.
| Source or arrangement | Main risk | Layout decision |
|---|---|---|
| Municipal supply | Variable pressure or supply hours | Connect to a storage tank where needed; verify pressure at fixtures |
| Borewell supply | Sediment and hardness | Provide filtration and service access before pumps and fittings |
| Tanker supply | Storage dependence | Size the tank and pump for simultaneous use |
| Overhead tank with booster | Pressure fluctuation and hammer | Check minimum pressure for rain showers and thermostatic mixers before purchase |
Good bathroom design planning prevents a high-flow shower from exposing an undersized riser, tank, pump or geyser.
Use Correct Falls, Traps and Wet-Zone Boundaries
A drainage line needs a continuous fall, not just a drain at its lowest visible point. Give small bathroom waste branches about 20–25 mm of fall per metre, keep the route free of dips, and avoid excessive bends; poor falls leave standing water, slow discharge and sediment that later blocks the pipe.
Each fixture needs an accessible trap with a retained water seal of about 50 mm. A shallow, siphoned or dried-out trap lets sewer gas into the room, while a rarely used floor drain can lose its seal through evaporation.
Provide a removable grate and cleaning access, then refill an unused trap periodically instead of masking odour with fragrance.
Use bathroom design planning to divide the room into a wet zone and a dry zone:
- Keep the shower inside a screen or curb, with the floor graded towards its drain.
- Turn waterproofing up the walls and across the doorway threshold so a blocked drain cannot send water into the passage or bedroom.
- Keep vanity cabinetry, sockets and switches outside direct spray and away from the floor’s wettest area.
- Connect foul drainage to the soil or waste system, never to a rainwater downpipe; monsoon runoff needs its own accessible route.
These details prevent damp walls as well as bathroom plumbing problems. Record the finished falls, trap locations and waterproofing edges before tiling, so a future leak can be traced without breaking a large area of floor.
Match Pipe Sizes and Materials to Each Bathroom Fixture
A 15 mm water branch suits a washbasin, while a shower or exposed mixer benefits from a 20 mm branch when several fixtures share the riser. Oversizing every line wastes space and slows maintenance; undersizing causes weak flow when the geyser, flush tank and shower operate together.
| Fixture | Recommended diameter | Suitable material and configuration |
|---|---|---|
| Washbasin | 15 mm supply; 40 mm waste | CPVC or PPR supply; uPVC waste with an accessible bottle or P-trap |
| Shower or mixer | 20 mm supply; 50 mm waste | CPVC or PPR hot and cold lines; separate stop valves near the mixer |
| Bathtub | 20 mm supply; 50 mm waste | CPVC/PPR supply; keep the trap and waste connection reachable |
| WC | 20 mm cistern supply; 100 mm soil pipe | CPVC/PPR supply; uPVC soil pipe with a properly supported pan connector |
| Floor drain | 50 mm waste | uPVC waste with a removable grate and cleanable trap |
| Main bathroom riser | 25 mm or larger | CPVC or PPR, sized after pressure and simultaneous-flow calculations |
For modern bathroom design in Nashik, use CPVC or PPR for internal hot- and cold-water lines, uPVC for gravity drainage, and HDPE for buried external runs where ground movement or long continuous lengths favour flexible pipe. Do not bury threaded joints or flexible hoses inside walls.
Use solvent-welded or heat-fused joints as specified for the material, and install an isolation valve for each bathroom or fixture group.
A wall-hung WC needs a correctly rated carrier frame, a 100 mm soil connection and a concealed cistern access opening large enough to replace the inlet valve. Keep traps, stop valves, geyser connections and pump controls reachable through removable panels rather than sealed tiles.
Test and Record Concealed Plumbing Before Tiling
Before plaster and tile hide the services, inspect every concealed water pipe, waste line, soil pipe, sleeve, drain, vent and electrical conduit. Confirm that foul drainage does not connect to a rainwater downpipe. Check floor-to-wall corners, drain flanges, sleeves and mixer penetrations for continuous waterproofing; grout is not a waterproof membrane.
Use this handover sequence:
- Photograph each wall and floor before covering, with a tape measure visible. Dimension pipe routes from finished corners, floor levels, door openings and fixtures, and mark pipe depths and sleeve positions.
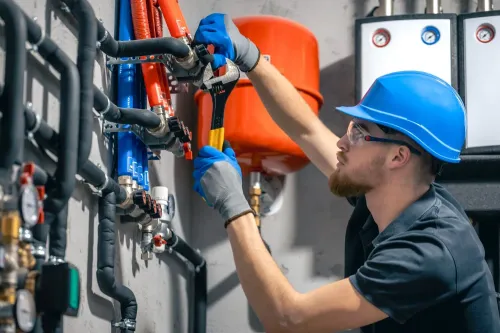
- Pressure-test hot- and cold-water lines before plastering. Record the test pressure, duration and result, and repair any pressure loss before the pipework disappears.
- Flood-test the shower waterproofing before tiling. Inspect the membrane turn-up, corners and penetrations for dampness or seepage below and beside the wet zone.
- Run every fixture and floor drain while checking joints, trap connections, flow and discharge. Record any slow drainage, standing water or leakage at cleanouts.
- Confirm accessible isolation valves for each bathroom or fixture group. Keep traps, cleanouts, concealed cisterns, geyser connections and pump controls reachable through removable panels, not permanent tile.
Good bathroom design planning includes an as-built drawing, dated photographs and signed pressure, drainage and waterproofing records. Mukta Group can help specify a handover checklist that keeps these records with the project documents rather than leaving them with the installer.
Without this evidence, later bathroom plumbing problems can force you to break open large areas simply to locate one hidden joint.
Related products
 | Mukta Plumbing Store Step into our multi-storey showroom and explore a curated range of premium and luxury plumbing solutions designed to elevate modern living, showcased... View product → |
 | Mukta Plumbing Engineers And Contractors Mukta Plumbing Engineers And Contractors With a strong foundation in plumbing engineering, MPEC has built a reputation for executing high-quality, durable systems tailored to each project’s... View product → |
Design for Nashik Water Conditions and Future Repairs
Test the actual supply before you choose fittings. In Nashik, municipal, borewell and tanker water can reach a bathroom through an overhead tank or booster pump, with different pressure, sediment and mineral content. Record static and peak pressure, and obtain a basic water-quality test before selecting mixers, geysers, filters or concealed pipework.
- Check the source and pressure at the bathroom’s busiest expected use, not only at the inlet.
- Use a sediment filter for visible grit; select a softener only when hardness results justify it, and leave space to service cartridges.
- Fit a pressure-reducing valve where incoming pressure exceeds the fixture manufacturer’s limit, and add a water-hammer arrestor near quick-closing valves.
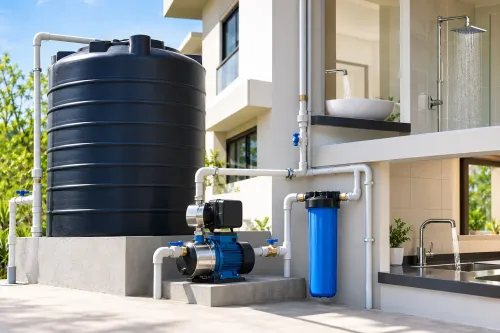
- Mount pumps on vibration isolators with flexible connectors, dry-run protection and accessible controls. A booster pump without these details creates noise, leaking joints and repeated motor faults.
- Install non-return valves and an air gap where needed to stop tank, pump or hose connections from backflowing into the supply.
Do not bury every joint or valve. Keep each bathroom or fixture group on an accessible isolation valve, and provide removable panels for traps, cleanouts, pump controls, geyser connections and concealed cisterns. A decorative sealed panel can turn a replaceable inlet valve into demolition.
Keep foul drainage separate from monsoon rainwater routes; cross-connections cause odour, insects, surcharge and contamination. This is modern bathroom design plumbing for problems in Nashik, and it prevents bathroom plumbing problems from becoming tile-breaking repairs.
Frequently asked questions
Why must water pressure be checked before planning a bathroom?
Municipal, borewell and tanker supplies can differ in pressure, sediment and water quality. Measure pressure at the source before selecting fixtures and planning their positions.
How do falls, traps and wet-zone boundaries prevent bathroom plumbing problems?
Correct floor falls direct water to the drain, while correctly sized traps block sewer gases. Define wet zones to protect dry areas and reduce seepage risk.
Why do bathroom fixtures need different pipe sizes and materials?
Fixtures have different flow and discharge requirements. Match pipe diameter and material to each outlet instead of using one size throughout the bathroom.
What should you test before covering concealed plumbing with tiles?
Pressure-test supply lines, check drainage flow and inspect joints before tiling. Photograph pipe routes and record measurements for future repairs.
How should bathroom plumbing be planned for Nashik water conditions?
Account for the source, sediment and water quality. Add isolation valves, accessible traps, cleanouts and service panels where future maintenance requires them.
Related product
 | Mukta MEP Mukta MEP is a leading name in the field of Mechanical, Electrical, and Plumbing (MEP) services, known for delivering high-quality, reliable, and... View product → |
Keywords