A luxury bathroom becomes expensive to correct when the team chooses sanitaryware before measuring drainage, wall thickness, finished floor levels and service routes. Use the sequence below to freeze the layout, verify every connection, protect the structure from moisture and test concealed work before the final finishes hide it.
Key takeaways
- Measure finished levels, clearances, shafts, drainage and service routes before selecting products.
- Match sanitaryware, fittings, tiles and finishes before placing the procurement order.
- Install drainage, concealed plumbing and waterproofing in sequence, then test every connection.
- Hand over isolation points, maintenance access, warranties and product records with the finished bathroom.
Start with a measured survey and freeze the bathroom layout
Measure the room before choosing a tap, toilet or tile. Record the finished-floor level, wall thicknesses, beam and slab positions, shaft dimensions, existing drain invert levels, door swing and clearances, water pressure, hot-water route, electrical capacity and isolation-valve locations. These facts determine what the room can actually support.
1. Freeze the WC position, outlet type, rough-in, trap route and floor-trap location. Check the WC, floor trap and drainage layout together; a water seal of about 50 mm helps block sewer gases, while double-trapping, siphonage or an infrequently used trap can create odour and poor drainage.
2. Mark basin centre lines, counter height, waste size, tap-hole pattern, mirror position and required service clearances. Confirm that drawers, doors and the user’s knee space will not collide with the plumbing.
3. For a wall-hung WC, identify structural support for the carrier frame and reserve access through the flush plate. Tile or plasterboard alone cannot carry the load.
4. Set shower height, concealed mixer depth, shower outlet, linear-drain fall and glass-panel lines. A trim plate cannot correct a mixer body buried at the wrong depth.
5. Mark lighting, exhaust, geyser and socket points as a wet-location electrical layout. Plan earthing or equipotential bonding, separation from splash zones and 30 mA residual-current protection to IS 732 requirements.
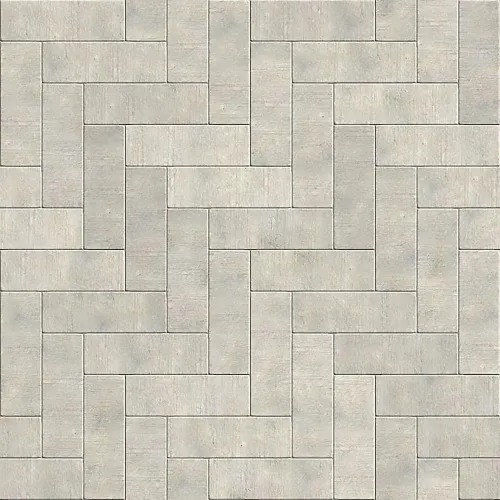
6. Approve the tile grid, movement-joint locations and flexible sealant details before ordering. A modern bathroom design loses its finish when rigid grout cracks at corners or changes of plane.
Sign off this dimensioned layout before procurement. Re-measure after demolition if concealed conditions differ; then order only products whose dimensions, pressure range, temperature rating and service access match the frozen plan.
Match sanitaryware, fittings and finishes before procurement
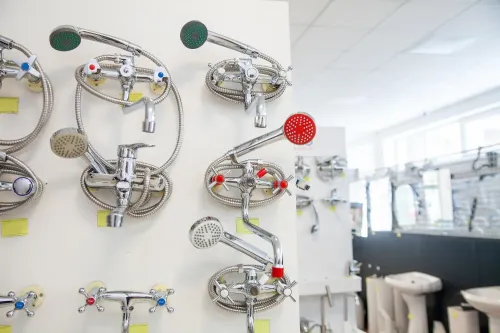
Choose premium sanitaryware, bathroom fittings, drains, tiles and sealants as one coordinated system, not as separate showroom purchases. Match each item to the measured layout, then request technical drawings before paying a deposit. A beautiful concealed mixer is unusable if its body sits outside the manufacturer’s finished-wall depth.
| Item | Confirm before ordering | Failure if missed |
|---|---|---|
| WC | Outlet type, rough-in, finished-floor height, cistern access and service clearance | The pan will not align with the drain or the flush plate cannot be serviced |
| Basin and tap | Basin waste size, tap-hole configuration, spout reach, counter thickness and bottle-trap space | Water splashes past the basin or the waste cannot connect |
| Shower mixer | Concealed-body depth, wall thickness, working-pressure range, hot-water temperature and trim compatibility | The trim will not seat, or flow and temperature control will be poor |
| Drain and tile | Drain outlet, grate size, tile thickness, slope direction and waterproofing detail | Water ponds or the finished grate sits below the tile |
Before procurement, obtain these documents and checks:
- The manufacturer’s installation drawing, service-clearance diagram and warranty conditions for every concealed product.
- A coordinated schedule showing each visible metal finish, tile thickness, grout colour and flexible-sealant colour.
- Trap details confirming roughly a 50 mm water seal without siphonage, double-trapping or an unused trap that dries out.
- Movement joints at corners, floor-to-wall junctions and sanitaryware junctions; use flexible sealant there, not cement grout.
At Mukta Group, ask the product and engineering teams to review this schedule together rather than approving attractive samples separately. That review catches incompatible rough-ins before walls, counters and tiles make correction expensive.
Related products
 | Mukta Plumbing Store Step into our multi-storey showroom and explore a curated range of premium and luxury plumbing solutions designed to elevate modern living, showcased... View product → |
 | Mukta Plumbing Engineers And Contractors Mukta Plumbing Engineers And Contractors With a strong foundation in plumbing engineering, MPEC has built a reputation for executing high-quality, durable systems tailored to each project’s... View product → |
Install concealed plumbing, drainage and waterproofing in the right order
Before the bathroom is closed, complete the support structure, drainage, concealed water lines, pressure tests and waterproofing inspection. A tile surface hides defects; it does not correct a leaking joint, weak WC frame or badly positioned mixer.
1. Mark finished-floor levels and wall faces, then set drain outlets, trap positions, WC rough-ins, shower points and basin connections. Give floor drains and linear drains a continuous fall to the outlet; a luxury bathroom fitting in Nashik still fails if the finished tile level leaves standing water.
2. Fix a wall-hung WC carrier to the structural floor or a designed supporting wall, never to tile, plasterboard or a lightweight partition. Install the cistern, flush connection and access opening, then flush-test it before permanent closure.
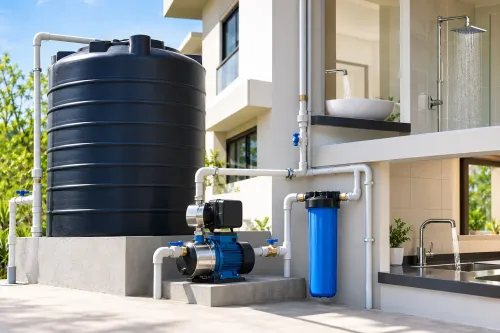
3. Run hot- and cold-water pipes with as few concealed threaded or compression joints as possible. Provide isolation valves for each major fixture and leave service access to filters, angle valves, diverters and other replaceable parts.
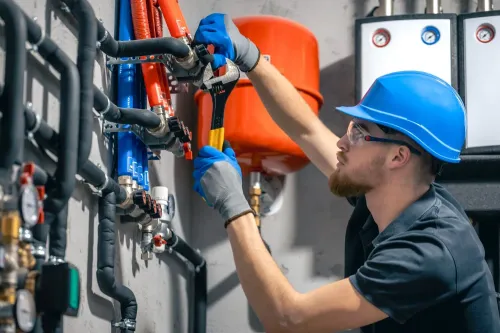
4. Pressure-test every concealed water line before closing chases or tiling. Repair pressure loss or dampness immediately; hiding the pipe turns a small joint failure into demolition.
5. Prepare the substrate and apply the specified waterproofing system over the bathroom floor and wet-area walls. Reinforce corners and pipe penetrations, form the floor-to-wall upturn, observe the stated curing period and complete the required water test before screed and tiles.
Photograph the tested pipe routes, valves, carrier frame and waterproofing details with measurements before the wall is sealed. Keep the photographs with the as-built notes so future drilling and repairs do not hit concealed services.
Coordinate tiles, electrical work, ventilation and visible fixtures
Tile, electrical and ventilation work must finish in a controlled sequence before visible bathroom fittings are mounted. A modern bathroom design fails when a late cable chase chips porcelain, or when a ceiling fan discharges humid air into the service cavity.
1. Mark every light, exhaust, mirror, heater and control point from the approved elevation. Install conduits, boxes, equipotential bonding or earthing, and residual-current protection before tiling; use a 30 mA RCD where required by the electrical design. Keep switches, sockets and equipment outside shower and splash zones, following IS 732 and applicable Indian electrical rules.
2. Complete the exhaust duct before closing the ceiling. Support a correctly sized duct, route it to the exterior, and provide backdraft protection; do not terminate it above a false ceiling.
Use the design airflow, with 50 cfm intermittent or 20 cfm continuous as an ASHRAE residential reference, then account for bends, noise and monsoon humidity.
3. Check wall flatness, floor falls and tile setting-out before adhesive reaches the surface. Lay wall tiles before floor tiles when that protects the finished floor, use the specified adhesive, back-butter large-format porcelain, maintain movement joints and keep grout from disguising lippage.
4. After adhesive and grout cure, fit the WC, basin, taps, shower trim, drains and accessories using protective sheets and non-marking tools. Install mirrors, final light fittings and silicone seals last, after drilling locations are scanned and measured from the tile joints.
Protect finished surfaces until cleaning and inspection are complete; one careless ladder or wrench can permanently mark a luxury finish.
Test every system and hand over a maintainable bathroom
Accept the bathroom only after every system works under normal conditions and every concealed service is recorded. A polished finish can hide a leaking trap, failed seal or inaccessible isolation valve.
1. Inspect visible work: check tiles for hollow spots and cracked grout, flexible sealant at corners and floor-to-wall junctions, sanitaryware stability, tap alignment, flush-plate access and manufacturer’s service clearances.
2. Verify waterproofing records and the cured flood test. Confirm that the shower area, floor waste, threshold and pipe penetrations were tested for the specified duration, commonly 24–48 hours, with the room below checked for dampness.
3. Pressure-test hot and cold lines, then inspect every joint, trap and waste connection while fixtures discharge. Record water pressure, hot-water temperature and flow; poor pressure can make premium sanitaryware perform badly.
4. Commission each mixer, diverter position, shower outlet, basin waste, WC flush and refill, floor drain, shower drain, exhaust fan and light. Test the RCD and confirm that doors, drawers and access panels operate without collisions.
5. Record model numbers, warranties, manuals, isolation-valve locations, pipe routes and photographs taken before closure. Include cleaning instructions, replacement sealant details and the service access method for concealed cisterns and mixers.
For luxury bathroom fitting in Nashik, handover is complete only when the maintenance file matches the installed products. Confirm that every premium sanitaryware item can be isolated, cleaned and serviced without breaking tiles.
Frequently asked questions
What should you measure before designing a luxury bathroom?
Record finished-floor levels, wall thicknesses, beam and slab positions, shaft dimensions, drain invert levels, door swing, clearances, water pressure, hot-water routes, electrical capacity and isolation-valve locations.
When should you choose sanitaryware, fittings and finishes?
Match sanitaryware, taps, shower fittings, tiles and other finishes before procurement so dimensions, interfaces and colour choices work together.
What installation sequence prevents bathroom problems?
Install concealed drainage and plumbing, complete pressure and leakage checks, apply waterproofing, conduct a flood test, and then proceed with finishes and visible fixtures.
What should be checked before handing over the bathroom?
Test water pressure, drainage flow, hot-water delivery, electrical protection, ventilation, valves, flush performance and access panels, then provide maintenance and product records.
Related products
 | TILES Discover Tiles That Define Style at The Tile Studio by Mukta Group At The Tile Studio by Mukta Group, we bring you a curated collection of premium... View product → |
 | Mukta MEP Mukta MEP is a leading name in the field of Mechanical, Electrical, and Plumbing (MEP) services, known for delivering high-quality, reliable, and... View product → |
Keywords